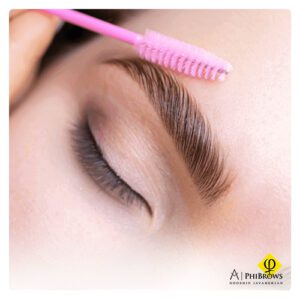
- Before starting the procedure, the specialist will take a bunch of photos of the eyebrows to decide on the most pleasing design. You’ll consider the form of the face and its characteristics, as well as the natural shape of each brow.
- Once the relevant reference measurements are obtained, a pencil simulation is performed so that the customer may see what the final outcome will look like.
- The most suitable pigment color is chosen, taking into consideration the natural hair color, skin tone, and eye color. It is typical that the result of the initial application is in darker colors than desired, but the fact is that the color will be settled and adjusted with the passing of weeks and healing.
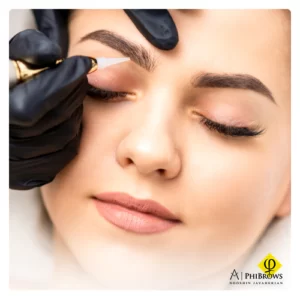
- A topical anesthetic is applied as a cream and is allowed to act for half an hour. Those who have experienced it say that the incisions are only noticed as small discomforts.
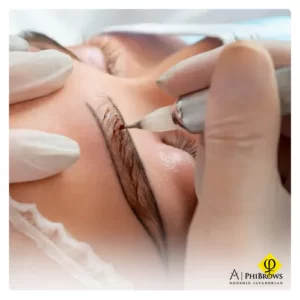
- The professional is designing the eyebrow and filling holes, hair by hair, making superficial cuts in the epidermis of the skin in which the pigment is deposited. For this, a “tebori” type pen with small beveled tips is used. The pigmentation of the eyebrows with this system is usually done in two phases.
- Once the process is finished, the professional will indicate what care is required for the correct healing of the eyebrows. The first 48 hours are vital to guarantee the good results of the “microblading.”
- After some time, after healing, it is usually recommended to have a retouch to complete the areas that have been left without pigment.